Vehicle Wrap Design: From Car and Van Mockups to Print-Ready Graphics
Why wrapping cars and vans takes more than a good-looking mockup: vehicle measurements, readable branding, print files, film, installation and AI previews.

Why wrapping cars and vans takes more than a good-looking mockup: vehicle measurements, readable branding, print files, film, installation and AI previews.
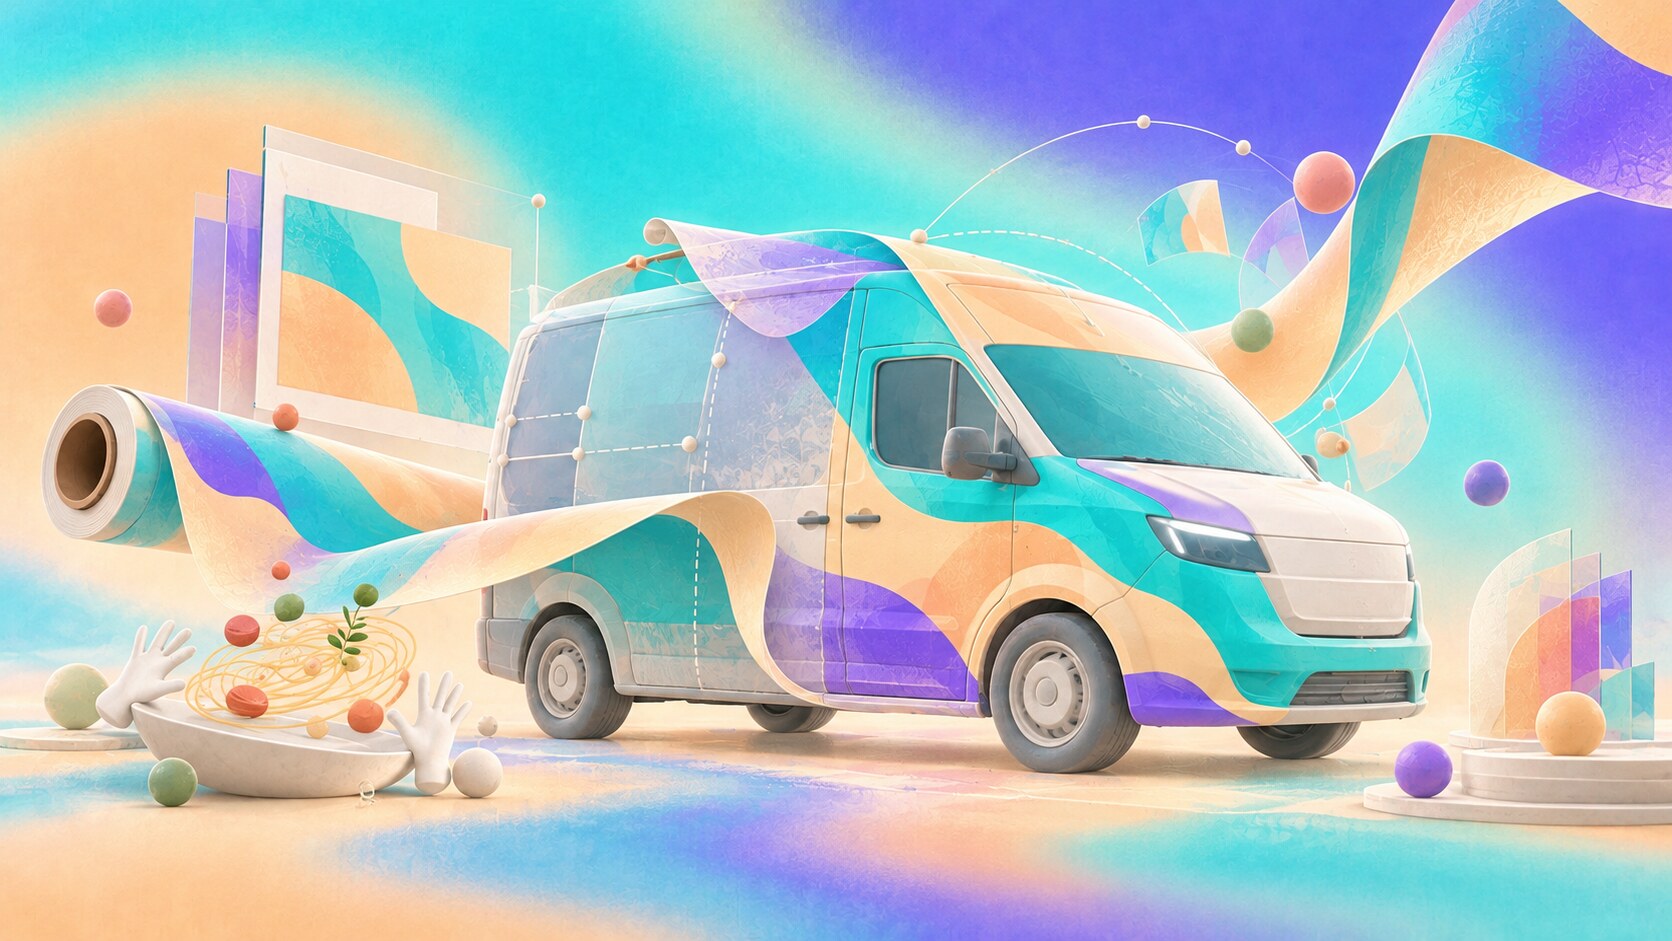
A wrap looks wonderfully simple in a presentation: place the logo on a side-view photograph, add a strong color and show the client a van that seems ready for the road. Then the actual van arrives. Its door handle cuts through the headline, the sliding door opens across the illustration, and a deep recess swallows the phone number.
This is why vehicle graphics are a craft of their own. A designer needs graphic judgment, production knowledge and enough three-dimensional imagination to picture what happens when a flat printed sheet meets a curved, moving object. The best result can be understood at a glance from across a street, but it also survives a close look at the joins.
We have looked at how cars are designed and at the handoff between branding and production. A vehicle wrap is where those worlds meet in public, every day.
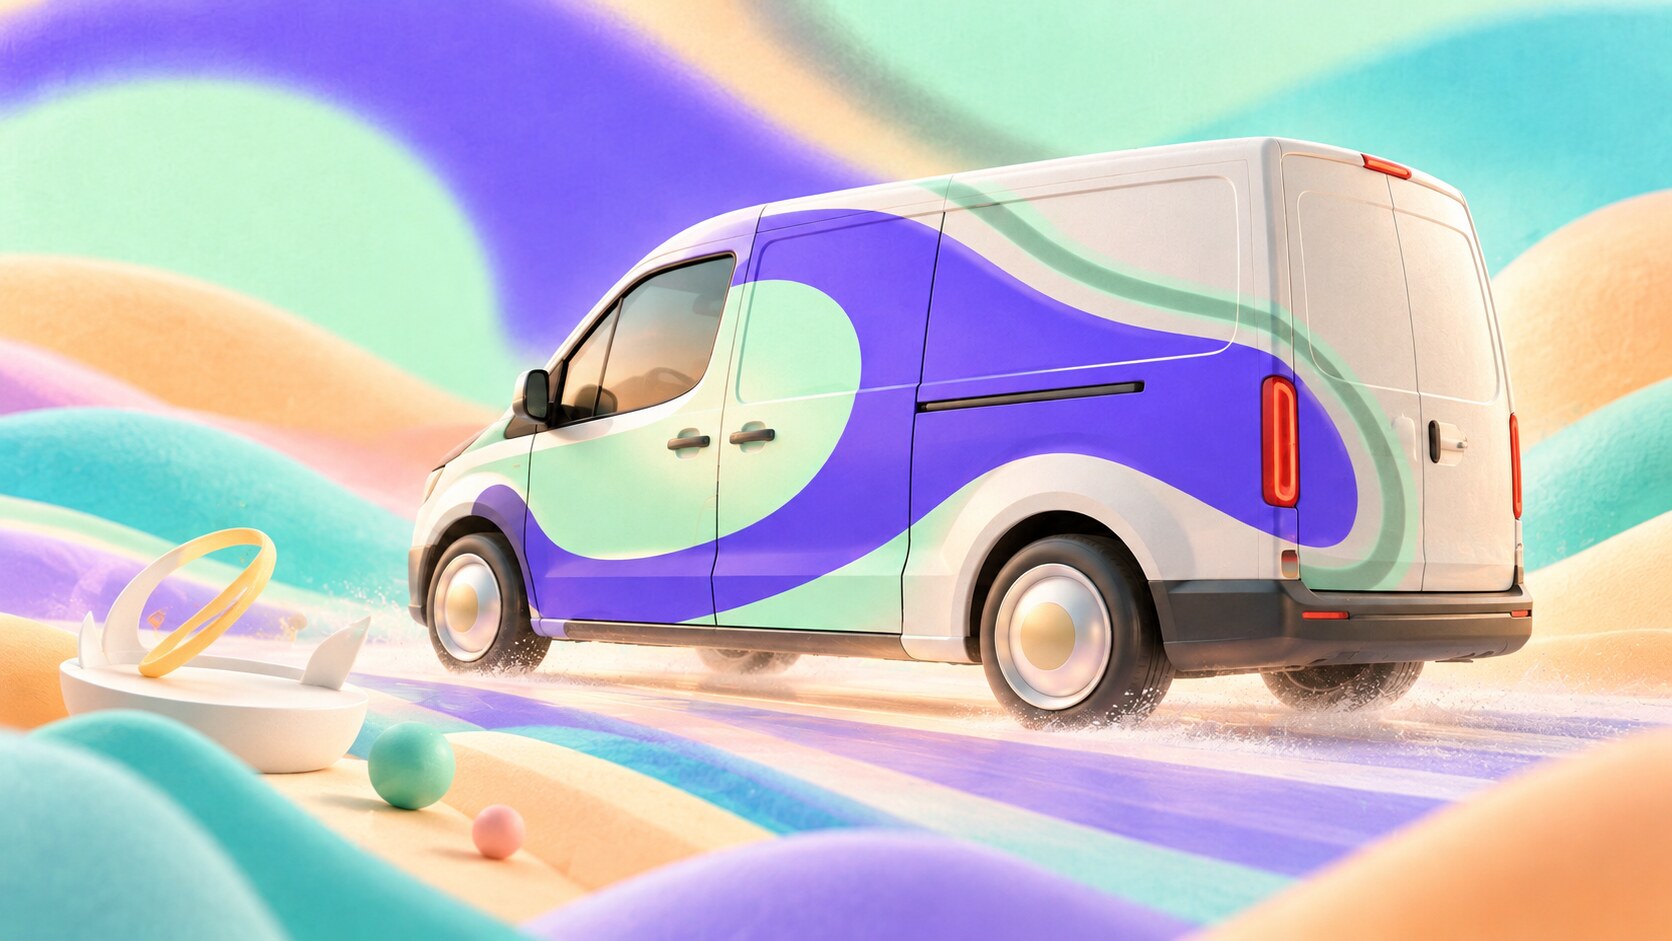
A parked van, a van passing at speed and the rear of a van in traffic offer three different reading situations. The side may carry a large brand shape and one short promise. The rear can hold the service and contact detail because someone behind it has more time. A roof graphic might delight a client in a mockup but be almost invisible in ordinary use.
The body also edits the design. Handles, fuel caps, sensors, lights, license plates, trim and legal markings are not optional layers that can be hidden for a nicer image. A word broken by a door gap may be illegible when closed and absurd when open. A strong wrap therefore starts with the message hierarchy, not with filling every square centimeter.
“If the design only works with every door closed and the vehicle seen from exactly one angle, it is not finished.”
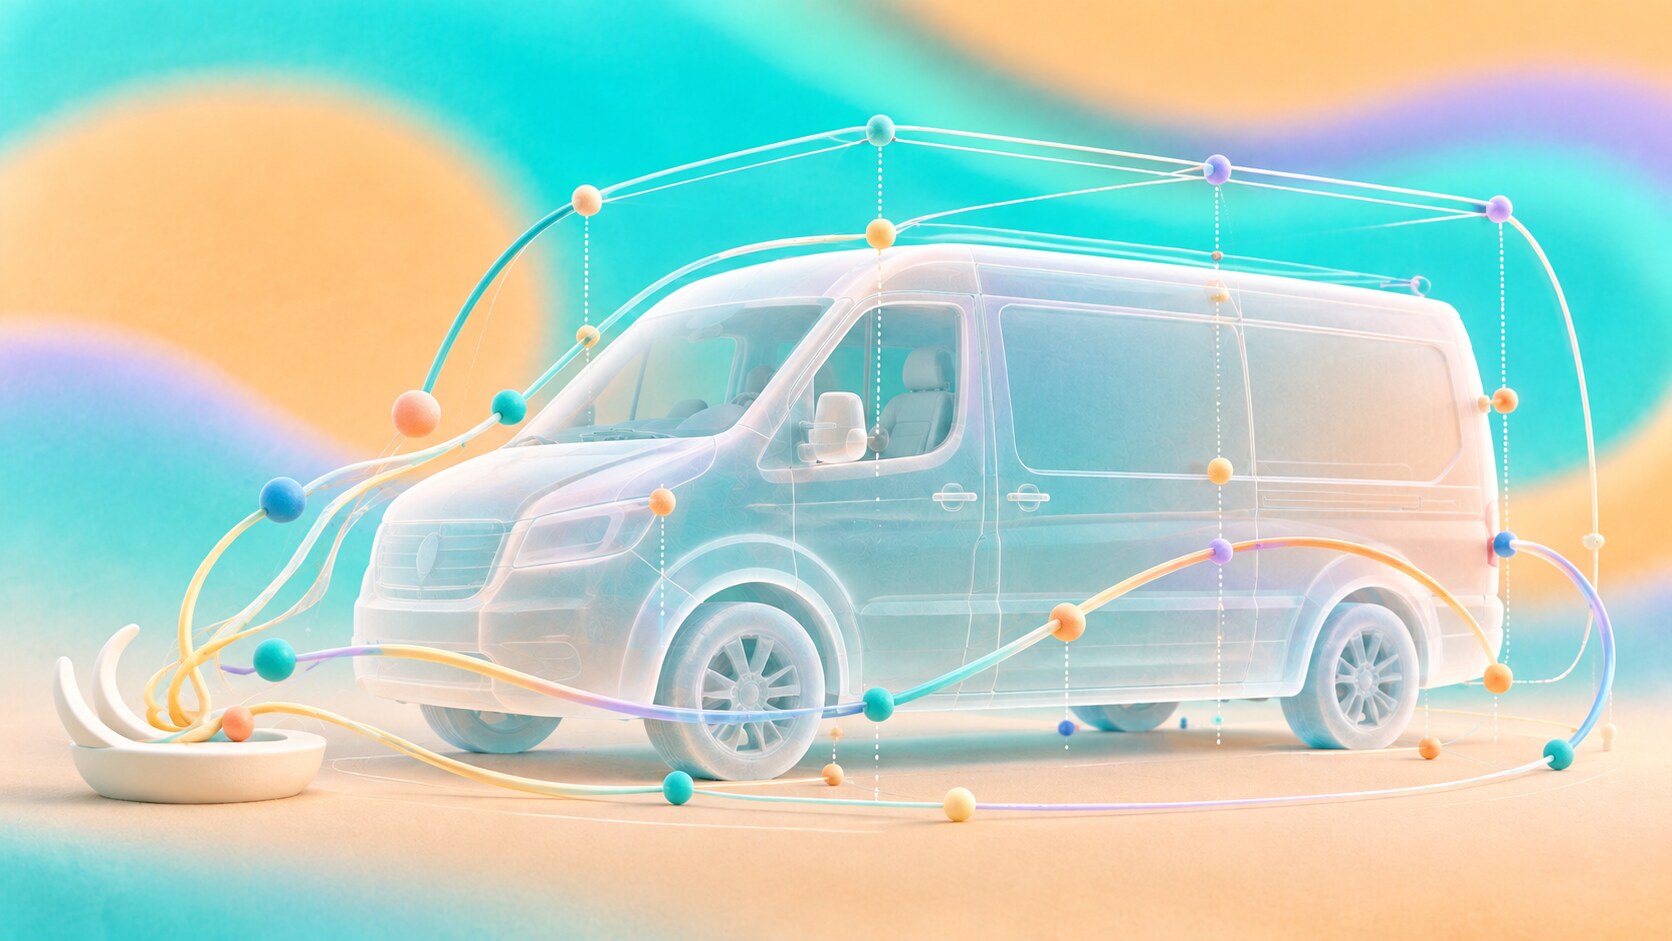
The first practical step is to identify the exact year, body length, roof height, doors and any custom bodywork. Get straight-on photographs of both sides, front and rear, then check the template against the vehicle itself. Even a useful outline cannot tell you about an aftermarket rack or a replacement panel.
One wrap supplier’s artwork guide explicitly asks designers to confirm template accuracy by measuring the real vehicle. It also separates artwork into views such as driver side, passenger side, rear, hood and bumper. That is a useful reminder: a wrap is a set of coordinated surfaces, not one giant image stretched around a box.
An early walk-around with the installer can save more time than a late round of revisions. It reveals which recesses are difficult, where panels will join and whether a planned graphic should be moved rather than forced into a bad place.
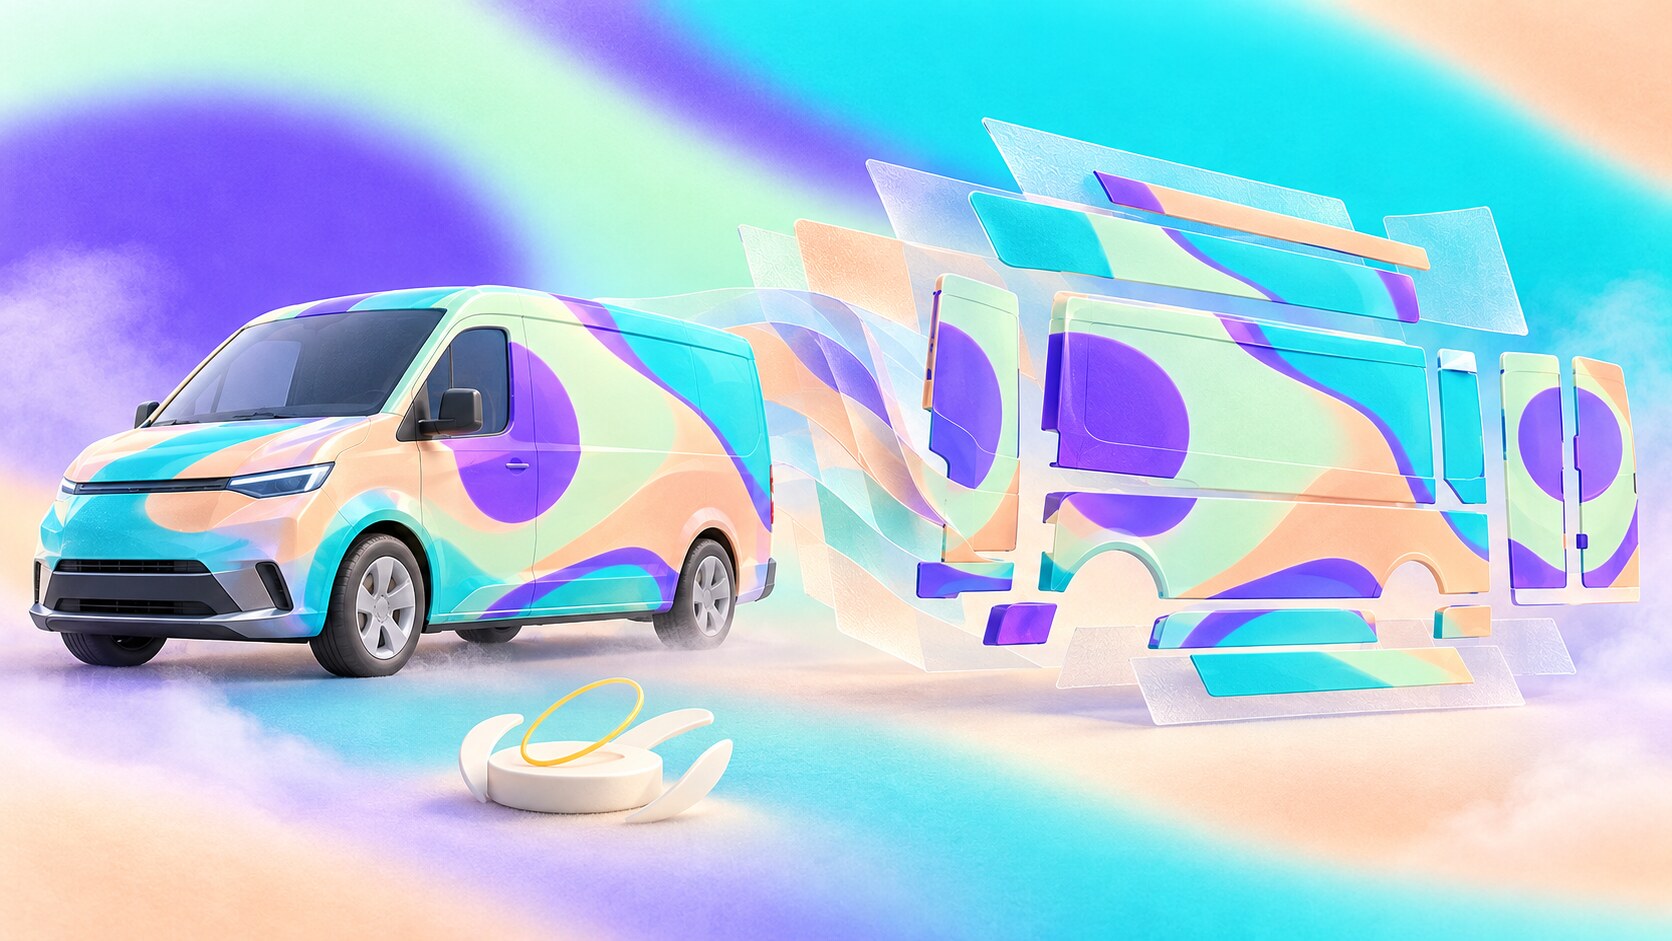
A client preview should explain how the brand reads on the street. It can use a clean photograph or a realistic render, with enough context to show scale. The print file has a different job. It needs verified dimensions, a clearly stated scale, correctly prepared images and type, plus panel extensions and overlaps agreed with the printer. Do not guess a universal bleed: the installer and the selected film determine the production specification.
The production handoff should make these points explicit:
A screen proof is not a color proof either. If a brand color is critical, ask the print shop for a sample on the intended film and laminate. The material and finish change how that color appears in daylight.
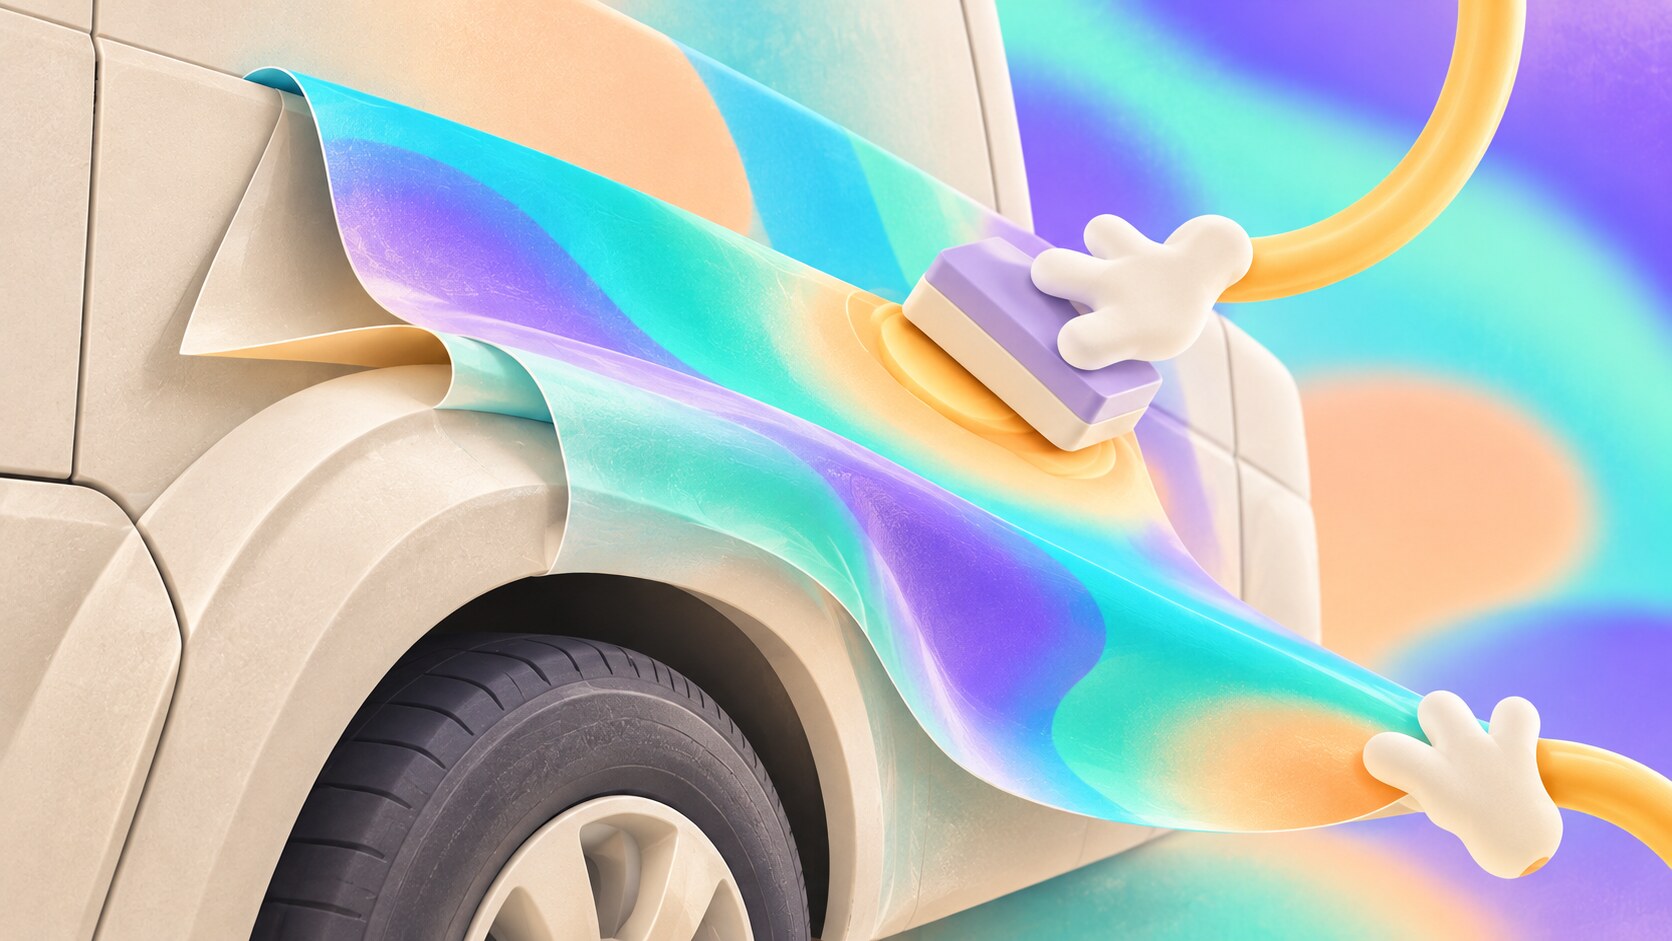
Deep channels and compound curves ask more of the material than a flat trailer side. Avery Dennison recommends cast films for demanding vehicle shapes because they conform better and resist shrinkage when processed correctly. Its guidance also warns that rigid UV-cured inks can crack when stretched. A gorgeous illustration printed on the wrong combination of film, ink and laminate is not a successful design.
Panel joins are another hidden part of the craft. 3M’s exterior-application guidance specifies overlaps of roughly 6 to 13 mm, with vertical vehicle overlaps facing away from the front. These details usually disappear in the final photograph, which is exactly the point. When they are ignored, edges can lift and the graphic starts announcing its construction instead of the brand.
The deadline trap: Avery Dennison’s technical bulletin calls for curing time after solvent or eco-solvent printing before lamination, with longer time for conforming and fleet work. A printer running overnight does not automatically mean the wrap is ready to install the next morning. Confirm the schedule for the actual ink and film system.
Sydney agency Percept redesigned the identity and vehicle livery for St George Cabs, using a dragon graphic and reflective vinyl to give the cars presence in both daylight and darkness. The idea was expressive, but it was tied to a simple brand mark rather than relying on decoration alone.
At a very different scale, Raccoon says it rebranded 349 Foxtons Minis in 13 days. That number is not a typical lead time for a small shop; it shows what coordinated artwork, removal, preparation and installation can achieve in an organized fleet operation. Earlier Foxtons Minis had featured an x-ray livery created from actual X-rays by artist Nick Veasey. It is a memorable example of a vehicle graphic with a concept specific to the vehicle, not a stock texture placed on a door.
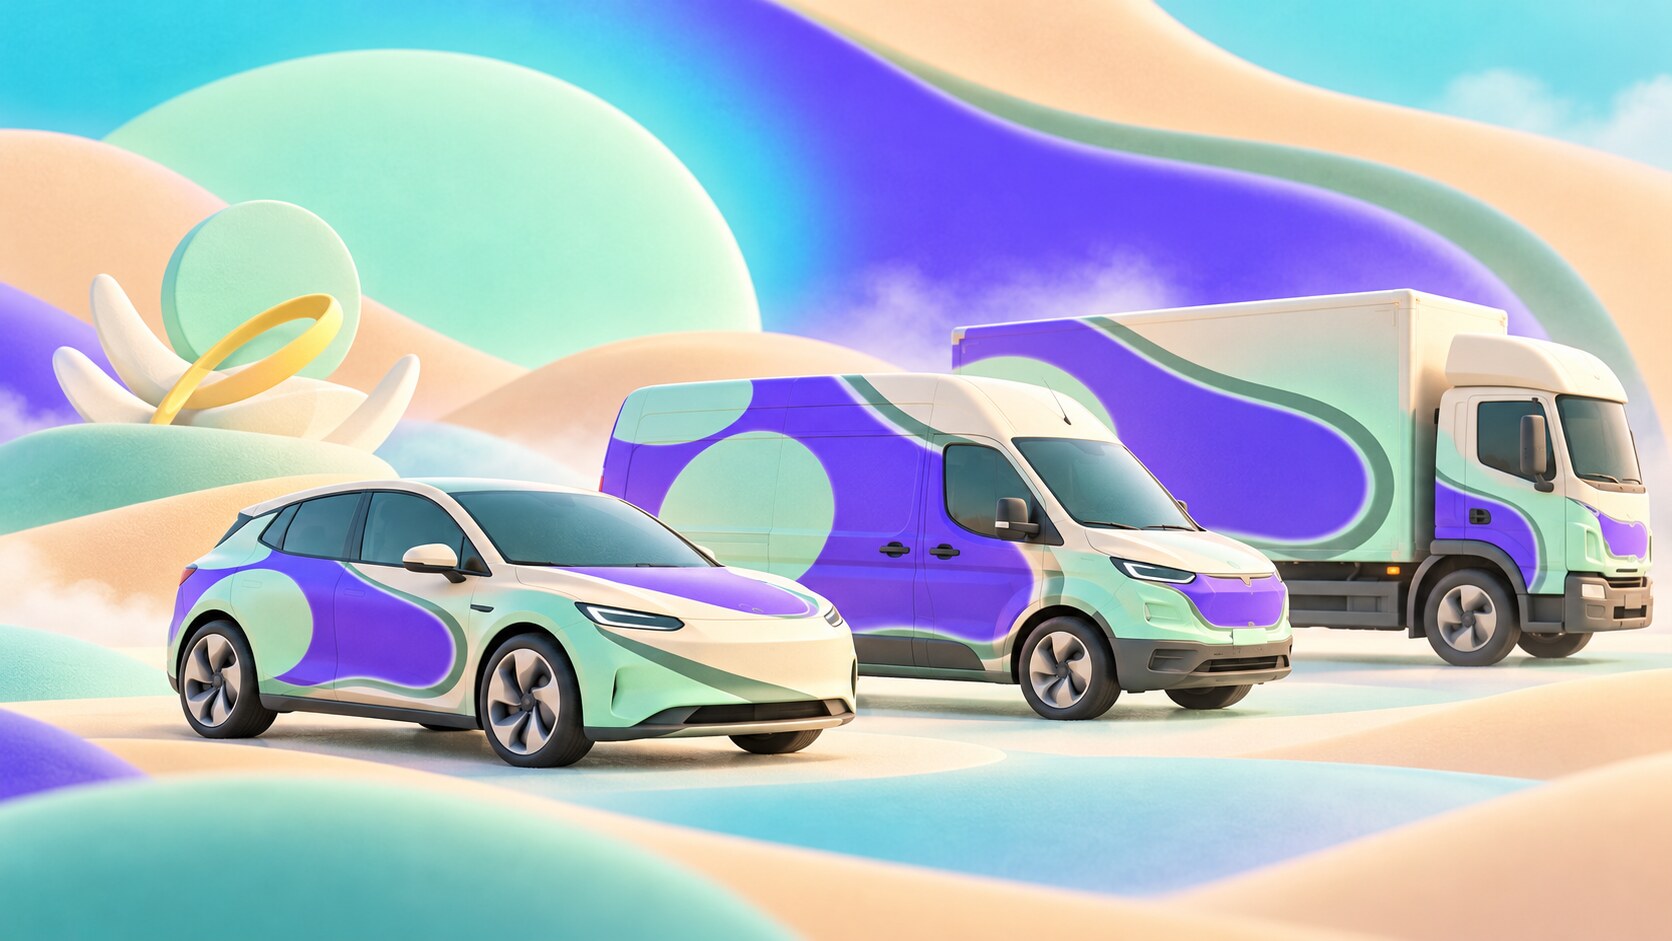
The less glamorous lesson comes from mixed fleets. In a Covenant Plumbing case study, the installer repositioned logos and ribbons around different rails, seams and body styles; a compact pickup required its own layout. Copying the van file onto every vehicle would have looked consistent in a presentation and inconsistent on the road.
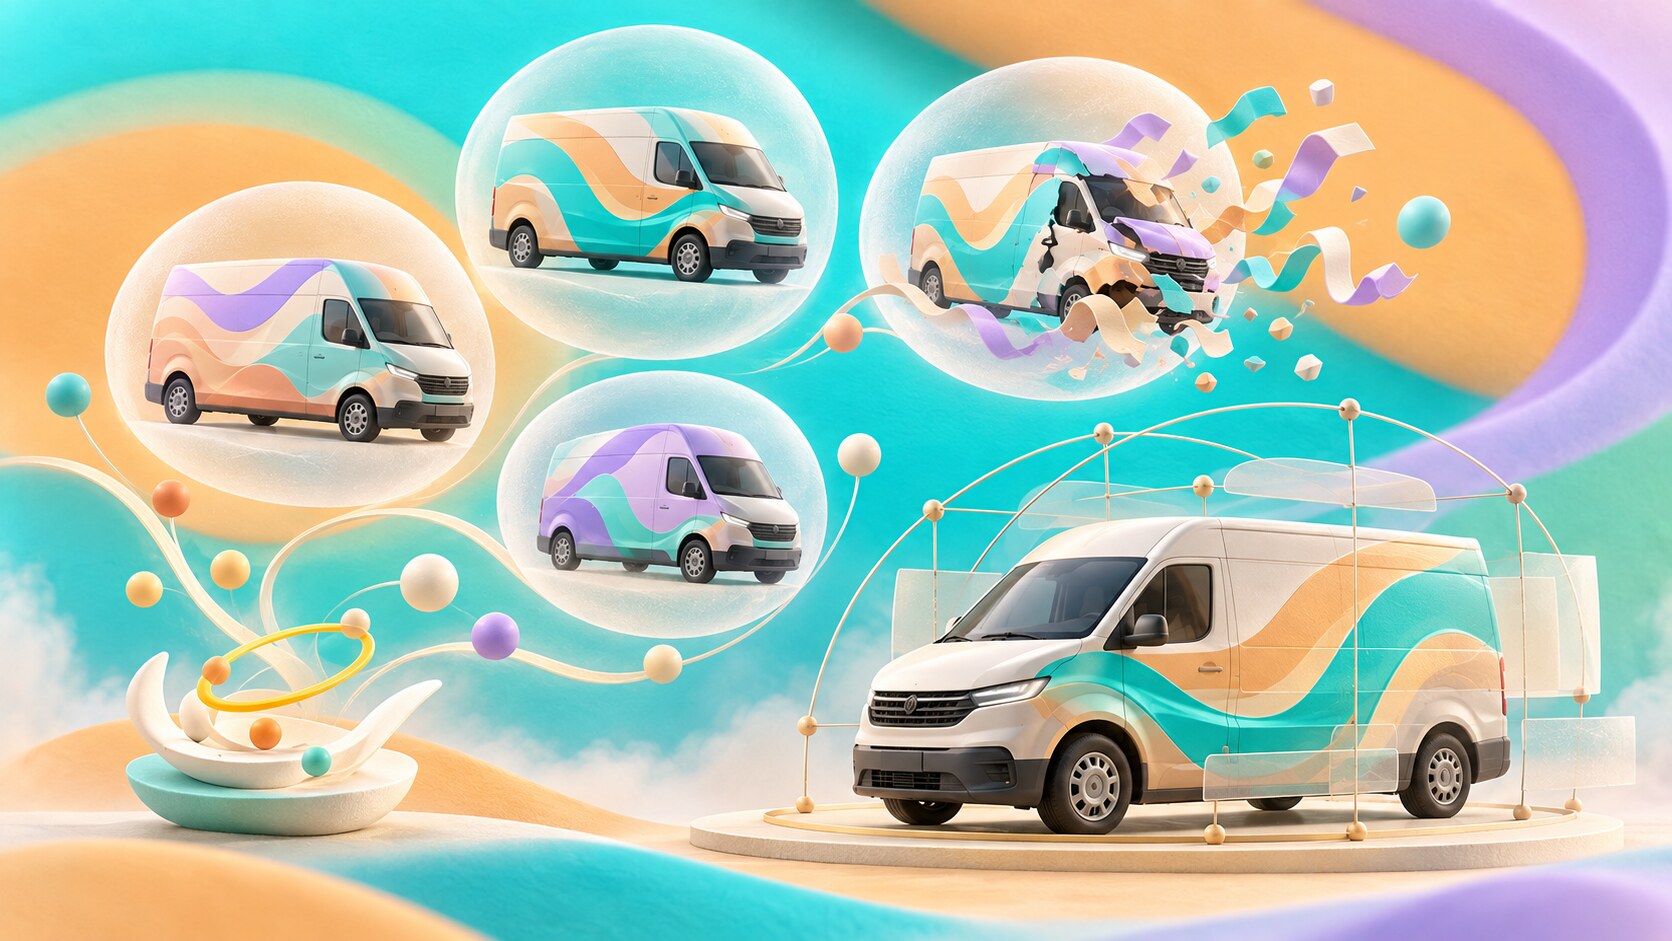
AI image tools can help explore a direction quickly: perhaps a bold color-blocking idea, a product scene reflected in a vehicle, or a realistic street context for a client presentation. They can also help a client compare how a van might feel in a city, at a warehouse or outside a shop. That is useful at the concept stage.
But a generated van may invent a door seam, distort the logo, hide a handle or place graphics on glass where they cannot be printed as shown. Its persuasive realism is the danger. Label AI-assisted views as concepts, then build the approved design on measured photographs and a verified template. Keep logos and essential text in controlled artwork, not as pixels that the generator has improvised.
The same distinction matters in AI-assisted graphic design: fast exploration is valuable, but production decisions still need a designer who can check reality.
3M says a full car-wrap installation generally takes about a day and recommends leaving the car at the shop for another day to support adhesion. That is the installation stage, not a promise that briefing, concept, approval, measurements, print and lamination fit into the same day. A partial wrap may be faster; a complex van or multi-vehicle rollout may take far longer.
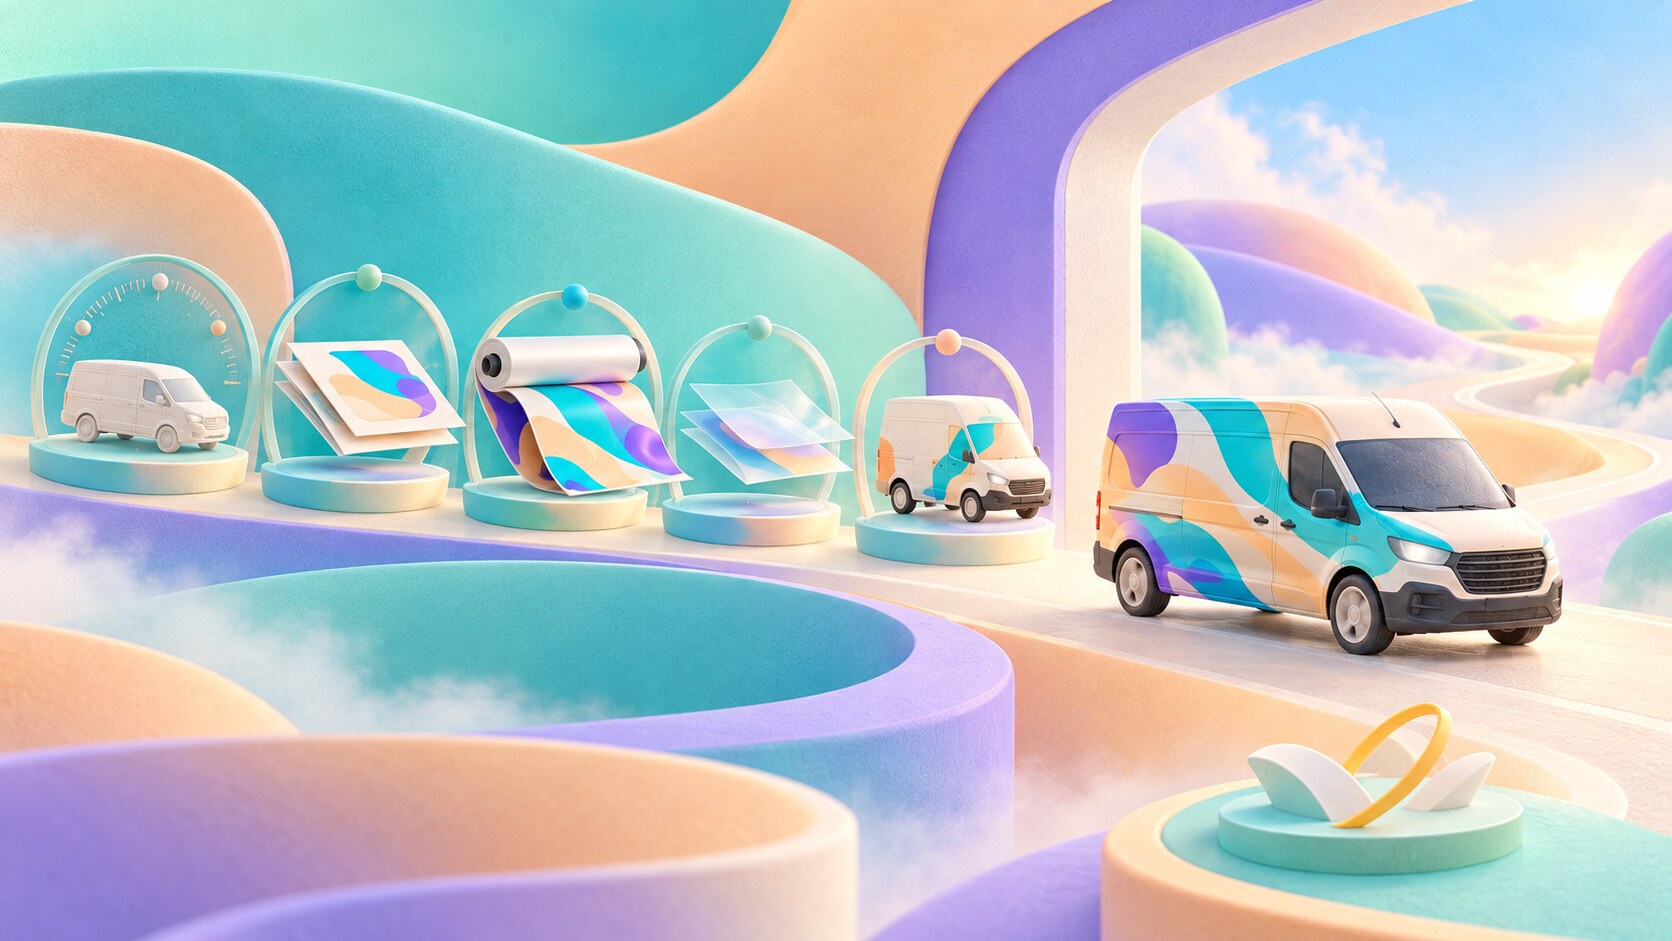
The productive sequence is simple to describe: inspect, measure, design, proof, correct, prepare print data, print and laminate, install, then photograph the real result. Each step protects the next. The strongest vehicle wrap is not necessarily the most covered or the loudest. It is the one that turns a difficult three-dimensional object into a clear, durable piece of branding that still works after the mockup becomes a real machine.
Send us your brief, your wildest idea, or just a hello. We’ll season it with curiosity and serve back something fresh, cooked with care.