In brief
3D imagery constructs an image from a scene rather than photographing a finished object. It gives designers control over viewpoint and material, but the render must still communicate honestly.

Common tools
- SketchUp
- Adobe Photoshop
Skills in play
- Concept development
- Spatial reasoning
- Technical accuracy
- Systems thinking
What it is
3D imagery is a still visual made from a constructed digital scene. A designer builds or imports geometry, assigns materials, places lights and a camera, then renders the result. The method can show a product before it exists, give an abstract idea a physical presence, or create a repeatable visual language across a campaign. It is a method of image-making, not a guarantee of factual accuracy.
The 3D motion graphics guide adds time and movement. A still image has a different test: everything the viewer needs must be legible in one frame.
Define the image’s promise
Ask whether the image is an expressive illustration, an accurate product visualisation, or an explanatory model. An abstract sculpture can bend material and scale freely. A product image may need exact dimensions and a clear indication that it is a render. A technical view requires confirmed geometry. Do not let photorealism imply a level of verification the project does not have.
Block out before detailing
Begin with simple masses and a neutral material. Place the camera early. Check the silhouette at the size where the image will be used; a complex object can collapse into an unrecognisable shape on a card or phone. Decide what sits in front, what overlaps, and where the eye should land. Only then spend time on fine modelling.
Geometry means the digital shape of the object. A material describes how its surface responds to light. Lighting gives form and mood; the camera chooses the frame and perspective. Blender’s rendering and material documentation separates these responsibilities, which is useful even if the project uses another tool. A weak silhouette is rarely fixed by a more elaborate shader.
Create depth with restraint
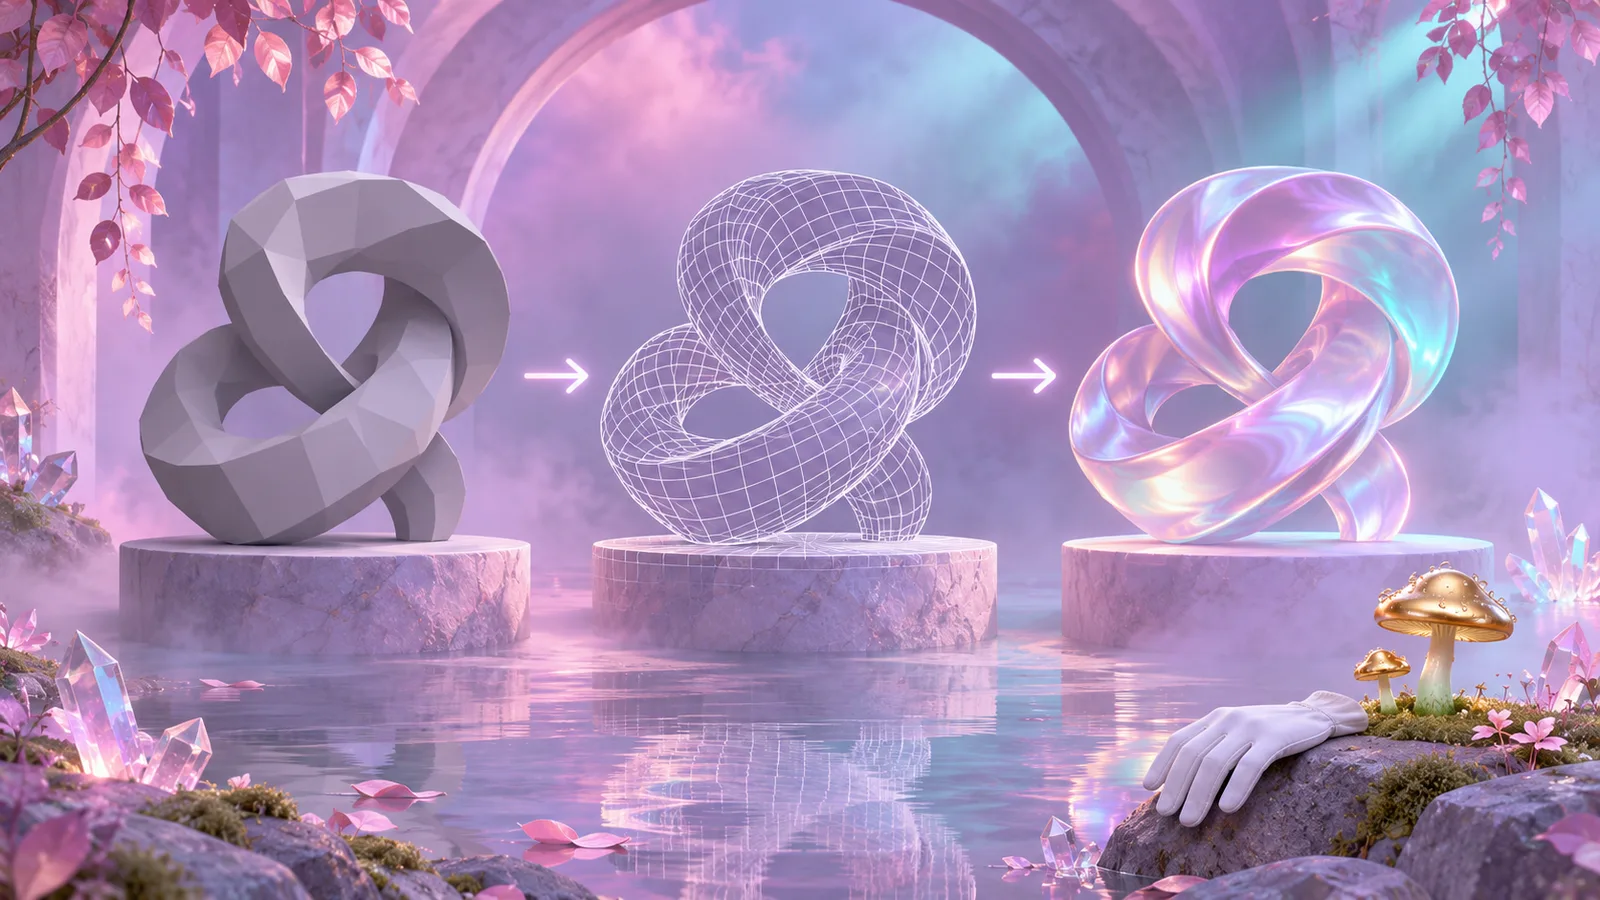
Use a limited set of materials so the subject remains readable. Roughness, translucency, and reflection should reveal shape, not bury it. A strong highlight can identify a curved edge; too many highlights can make everything look equally important. Compare a clay render with the finished material pass to see whether colour and texture improved communication.
For a series, create rules for camera height, focal length, light direction, shadows, and background. Reuse enough to feel coherent while varying composition for each topic. If an image will be cropped across several formats, render with breathing room instead of enlarging a finished composition after the fact.
Keep the production chain clear
Save the scene, source models, textures, and render settings with useful names and rights information. Render at the required size and colour space, then inspect the result on the actual background. Compositing may add colour grading, atmospheric depth, or retouching, but should not conceal a structural error. When the image represents a real product, compare the final visual against approved references and record any deliberate simplification.
The image retouching and compositing guide covers the final image assembly. The art direction for photography guide helps when a campaign needs rendered and photographed images to feel related.
Test the result in use
View the render at card size, full-page size, and a mobile crop. Can people identify the subject without reading the caption? Do materials and shadows clarify the form? Does the image suggest an unintended scale or function? Ask a viewer what they believe is real. If they mistake a concept for a finished product, change the visual treatment or label.
Optimise the delivered file without destroying gradients or details. Keep a higher-quality master for later crops. A lightweight, well-framed image often serves the page better than a huge render whose finest features cannot be seen.
Practical checks
- Is the image’s purpose and factual status clear?
- Does the silhouette work before textures are added?
- Are geometry, materials, light, and camera helping the same idea?
- Are source assets and rights traceable?
- Does the image remain useful at final crop and file size?
Common mistake
Spending days on surface detail while leaving the camera angle, hierarchy, and intended message undecided.
People and practice